Mastering Drywall Repair: Transform Your Walls from Damaged to Dazzling
Expert Techniques and Tips for Effective Drywall Repair and Sheet Rock Restoration
Drywall repair is an essential skill for homeowners and DIY enthusiasts alike. Whether you're dealing with small holes, large dents, or general wear and tear, mastering drywall repair can save you time and money while revitalizing the appearance of your walls. This comprehensive guide will walk you through the key aspects of drywall repair, including dry wall patch methods, drywall installation, and advanced texturing techniques to achieve a flawless finish.
Understanding Drywall and Sheet Rock
Before diving into repair techniques, it's crucial to understand the materials you'll be working with. Drywall, often referred to as sheet rock, is a common construction material used for interior walls and ceilings. It consists of a gypsum core sandwiched between two layers of paper. Drywall is favored for its ease of installation and finishing but can be prone to damage from impacts, moisture, or general wear and tear.
Common Drywall Issues and Repairs
Filling in Holes in Walls
One of the most common drywall issues is holes, which can occur due to accidental impacts, nail or screw removal, or settling of the house. The method for filling in holes in walls depends on the size of the hole.
Small Holes (Nail or Screw Holes):
Materials Needed: Spackling paste, putty knife, sandpaper.
Steps:
- Clean the hole and remove any loose debris.
- Apply spackling paste with a putty knife, pressing it into the hole.
- Smooth the surface with the knife and let it dry.
- Once dry, sand it smooth to match the surrounding wall.
Medium Holes (Up to 1/2 Inch):
Materials Needed: Joint compound, putty knife, mesh patch, sandpaper.
Steps:
- Clean the area around the hole and apply a mesh patch if necessary.
- Apply joint compound over the patch and smooth it with a putty knife.
- Allow it to dry, then sand the area until it’s flush with the wall.
Large Holes (Over 1/2 Inch):
Materials Needed: Dry wall patch, joint compound, drywall screwing tools, putty knife, sandpaper.
Steps:
- Cut a piece of drywall to fit the hole.
- Secure the patch with drywall screws if necessary.
- Cover the edges with joint compound, smoothing it out.
- Once dry, sand the patch to blend with the wall.
Drywall Fixes for Dents and Scratches
Dents and scratches are less severe than holes but can still mar the appearance of your walls.
Materials Needed: Joint compound, putty knife, sandpaper.
Steps:
- Apply a thin layer of joint compound over the dent or scratch.
- Smooth it with a putty knife and let it dry.
- Sand it gently to match the surrounding wall texture.
Drywall Installation
Installing drywall is a more involved process compared to simple repairs, but understanding the basics can help you tackle larger projects.
Preparing for Installation
Measure and Cut:
Measure the wall area and cut the drywall sheets to fit using a utility knife.
Ensure that the drywall pieces fit snugly between the studs.
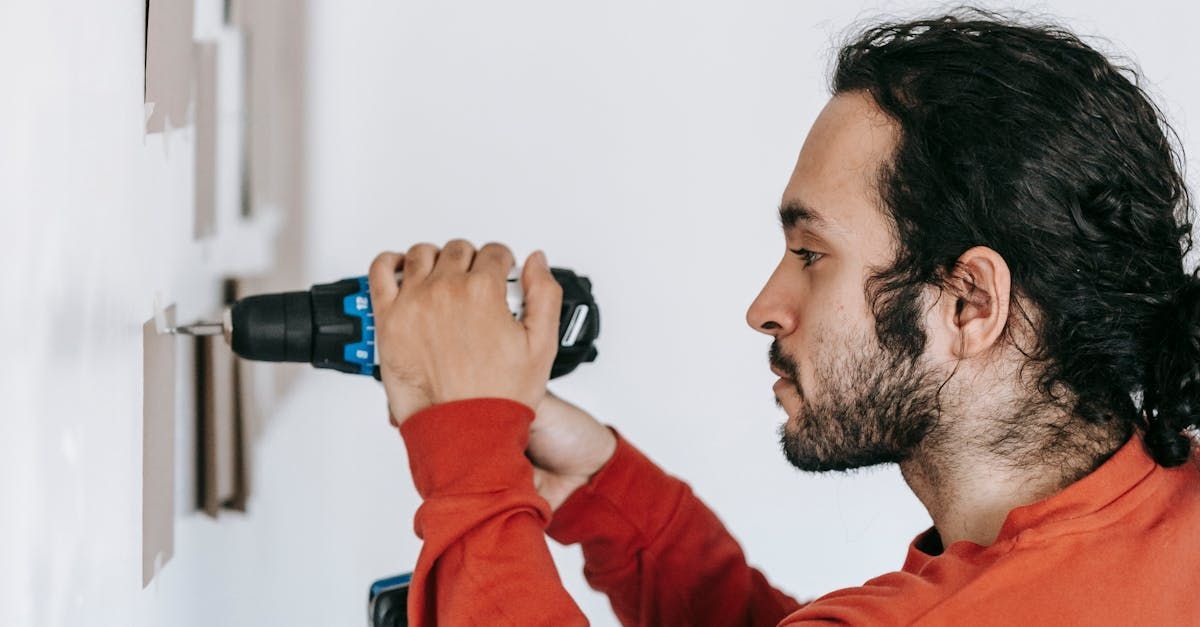
Hanging Drywall:
Materials Needed: Drywall screws, drywall screwing tools, drill, tape measure.
Steps:
Position the drywall sheet on the wall.
Secure it with drywall screws, placing them approximately 12 inches apart.
Make sure the screws are slightly recessed but not so deep that they break the paper surface.
Taping and Mudding:
Materials Needed: Drywall tape, joint compound, putty knife.
Steps:
Apply drywall tape over the seams.
Cover the tape with joint compound, smoothing it out.
Allow it to dry and apply additional coats as needed, sanding between each layer.
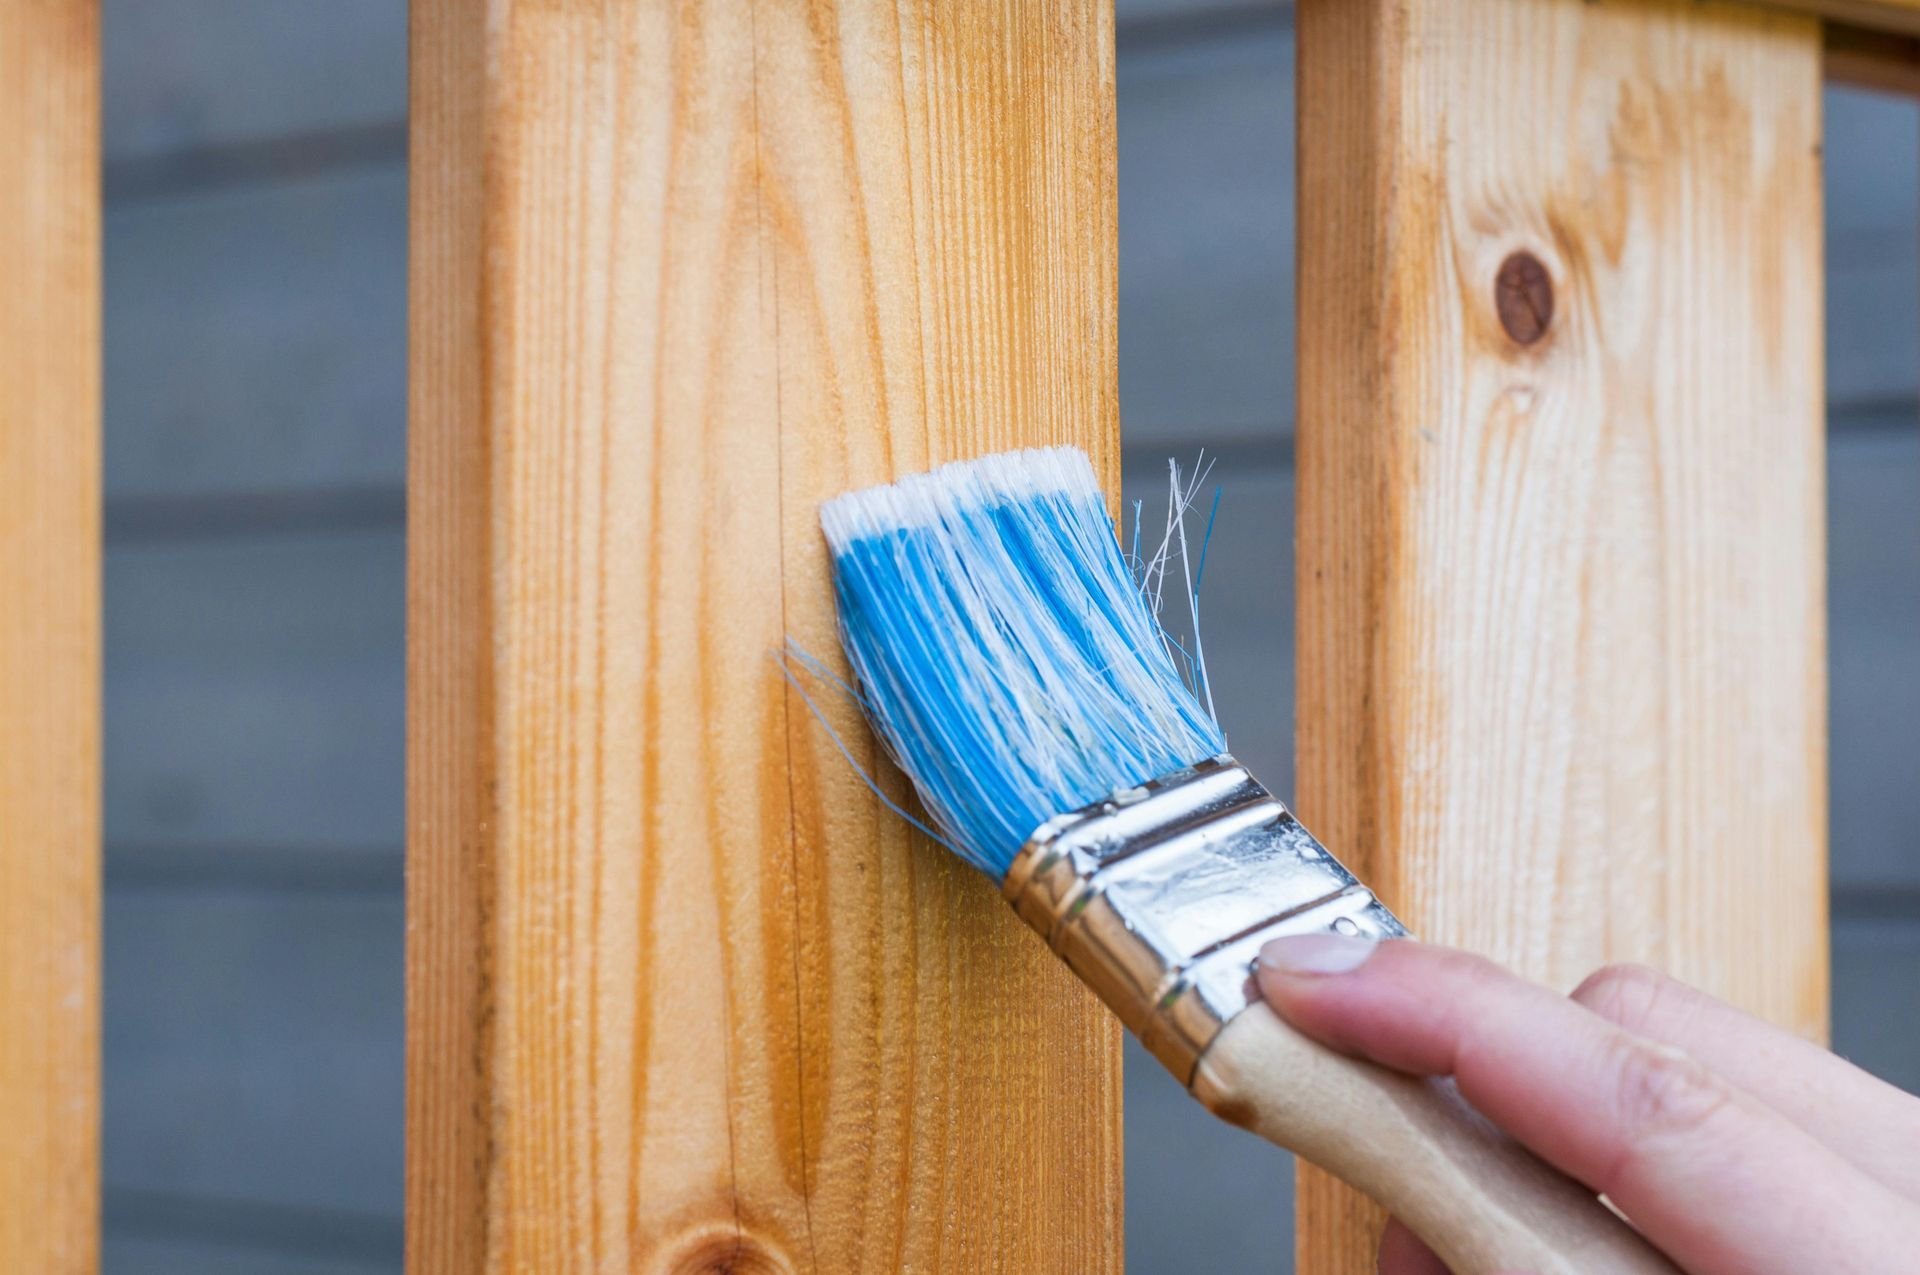
Texturing Techniques for Drywall
Once repairs and installation are complete, you might want to match or update the wall’s texture. There are several texturing techniques to consider.
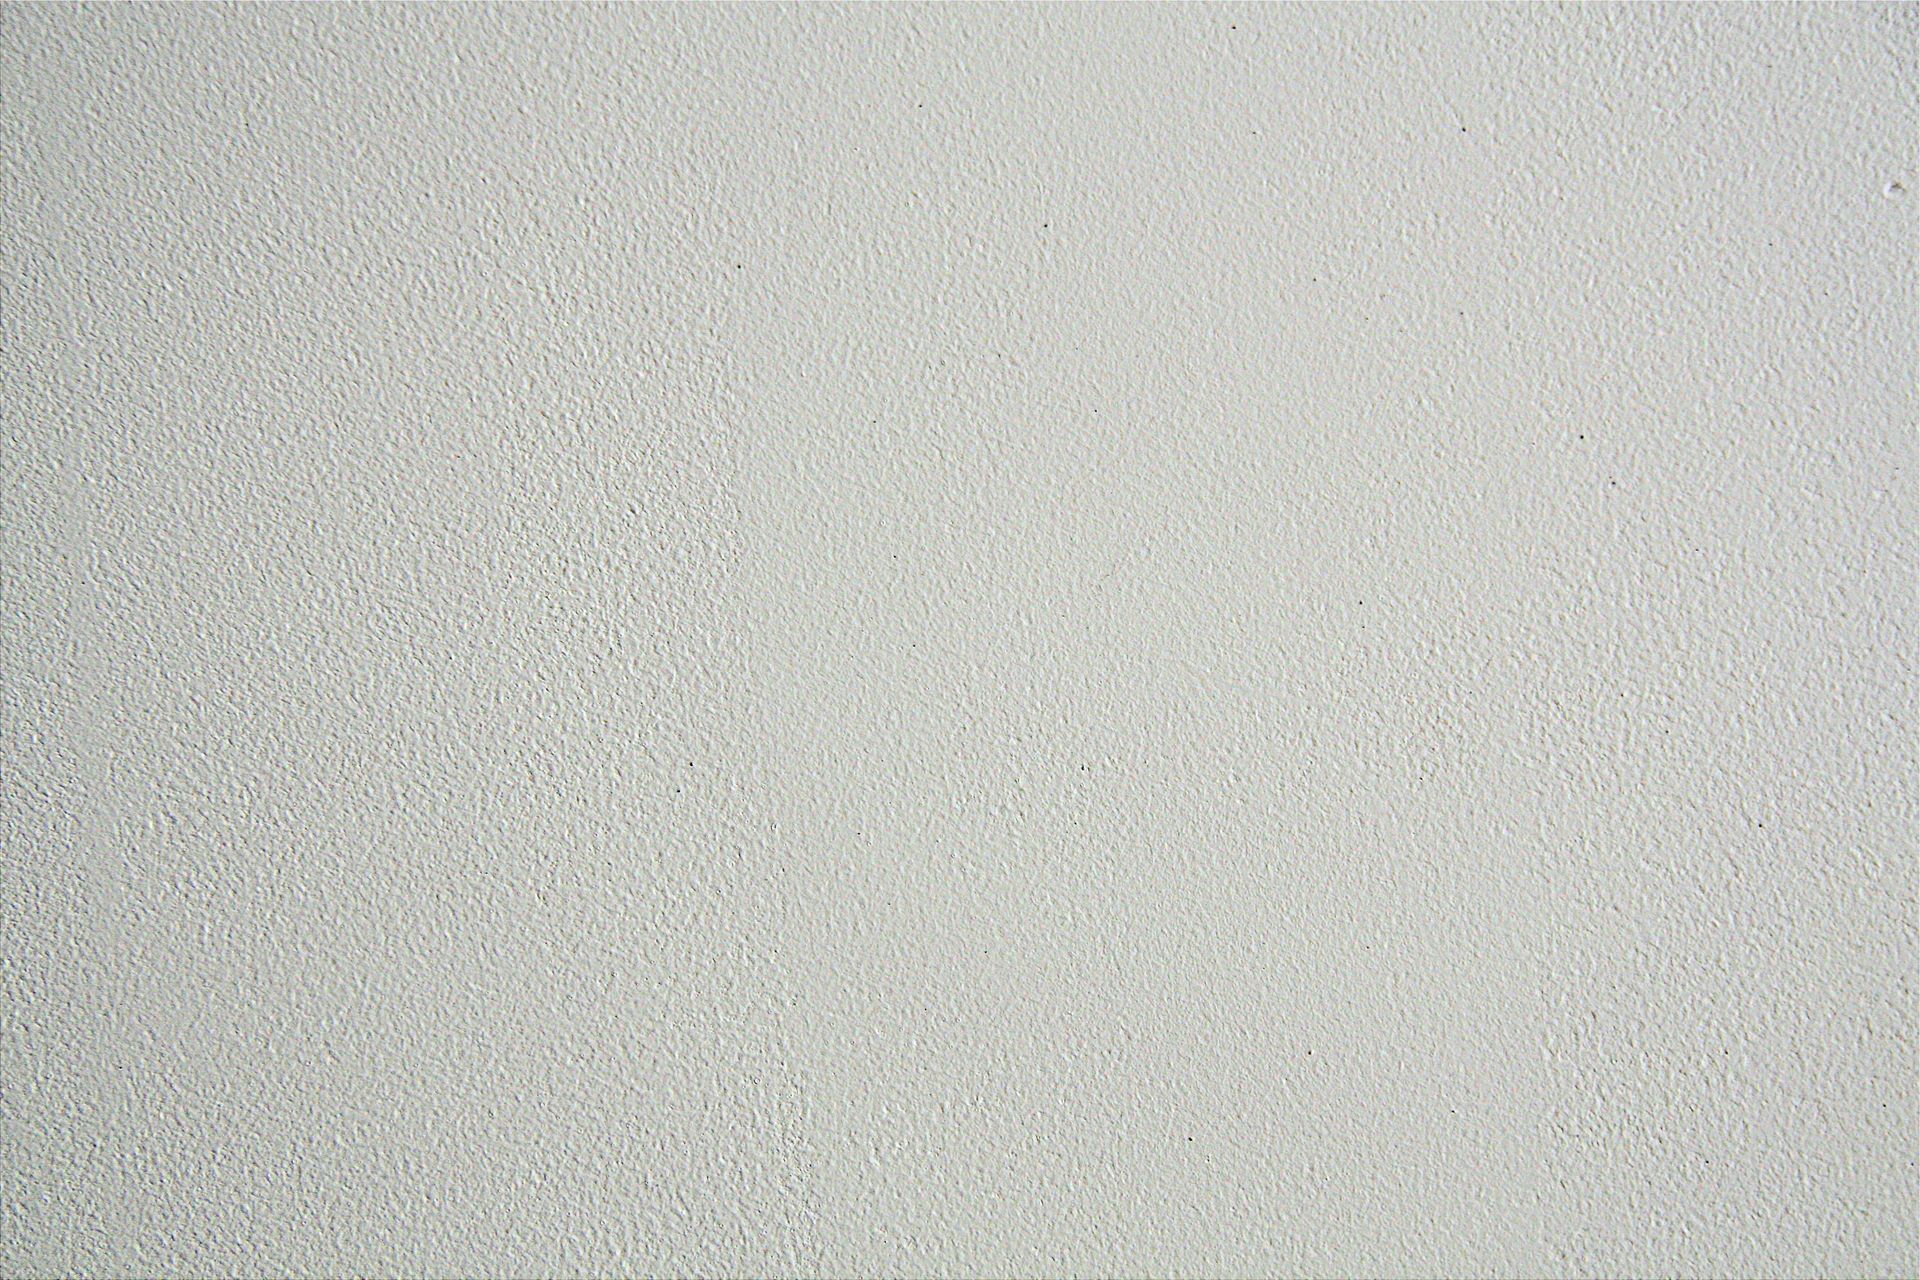
Orange Peel Wall Texture
The orange peel texture is a popular choice for its subtle, dimpled appearance that resembles the skin of an orange.
Materials Needed: Texturing paint or spray, paint roller, sprayer.
Steps:
Mix the texturing paint according to the manufacturer's instructions.
Apply it using a spray gun or roller to achieve an even texture.
Let it dry and evaluate if additional coats are needed.
Other Texturing Paint Techniques
Knockdown Texture:
Apply joint compound with a sprayer or brush, then knock it down with a flat tool for a more refined texture.
Skip Trowel Texture:
Apply joint compound with a trowel in a random pattern to create a distinctive, artistic finish.
Swirl Texture:
Use a brush or trowel to create swirling patterns in the joint compound.
Tips for a Professional Finish
Achieving a professional finish in drywall repair and installation requires attention to detail and proper technique.
Proper Drying Time:
Allow each layer of joint compound or texturing paint to dry completely before sanding or applying additional coats.
Sanding Techniques:
Use a sanding block or pole sander to achieve a smooth finish. Be careful not to sand too aggressively, which can damage the drywall.
Clean Work Area:
Keep your work area clean to avoid dust and debris from interfering with the repair or finish.
Conclusion
Mastering drywall repair involves a combination of techniques and knowledge. By understanding how to
fill in holes in walls, manage sheet rock repair, and apply texturing techniques, you can transform damaged drywall into a stunning, seamless surface. Whether you are performing minor fixes or undertaking a full installation, these tips and techniques will help you achieve a
professional result. With practice and patience, you'll be able to maintain your walls and ceilings, keeping your home looking its best.