Beyond Patching: Transforming Wall Holes into Art
Embracing Creativity to Convert Common Repairs into Unique Home Decor
Wall imperfections, particularly those pesky holes that occasionally dot our spaces, often prompt a sigh of resignation and a call to local repair services. Yet, these blemishes present a unique opportunity for homeowners and renters alike to harness their creativity. This guide will walk you through transforming a simple "hole in the wall" into a piece of art, turning what might seem like a repair chore into an exciting home improvement project.

Understanding the Basics: What Causes a Hole in the Wall?
Before diving into the transformation process, it's crucial to understand what typically causes a hole in the wall. These imperfections can result from a variety of incidents, from the accidental impact of furniture to the playful antics of children. Knowing the cause helps determine the best approach for a long-lasting repair and artistic transformation.
Step 1: Assess the Damage
First, assess the size and severity of the hole in the wall. The approach for a small puncture will differ significantly from that for larger damage. For instance, "patching a small hole in the wall" may only require simple filler materials, whereas a larger "hole in the wall drywall repair" might need a new section of drywall.
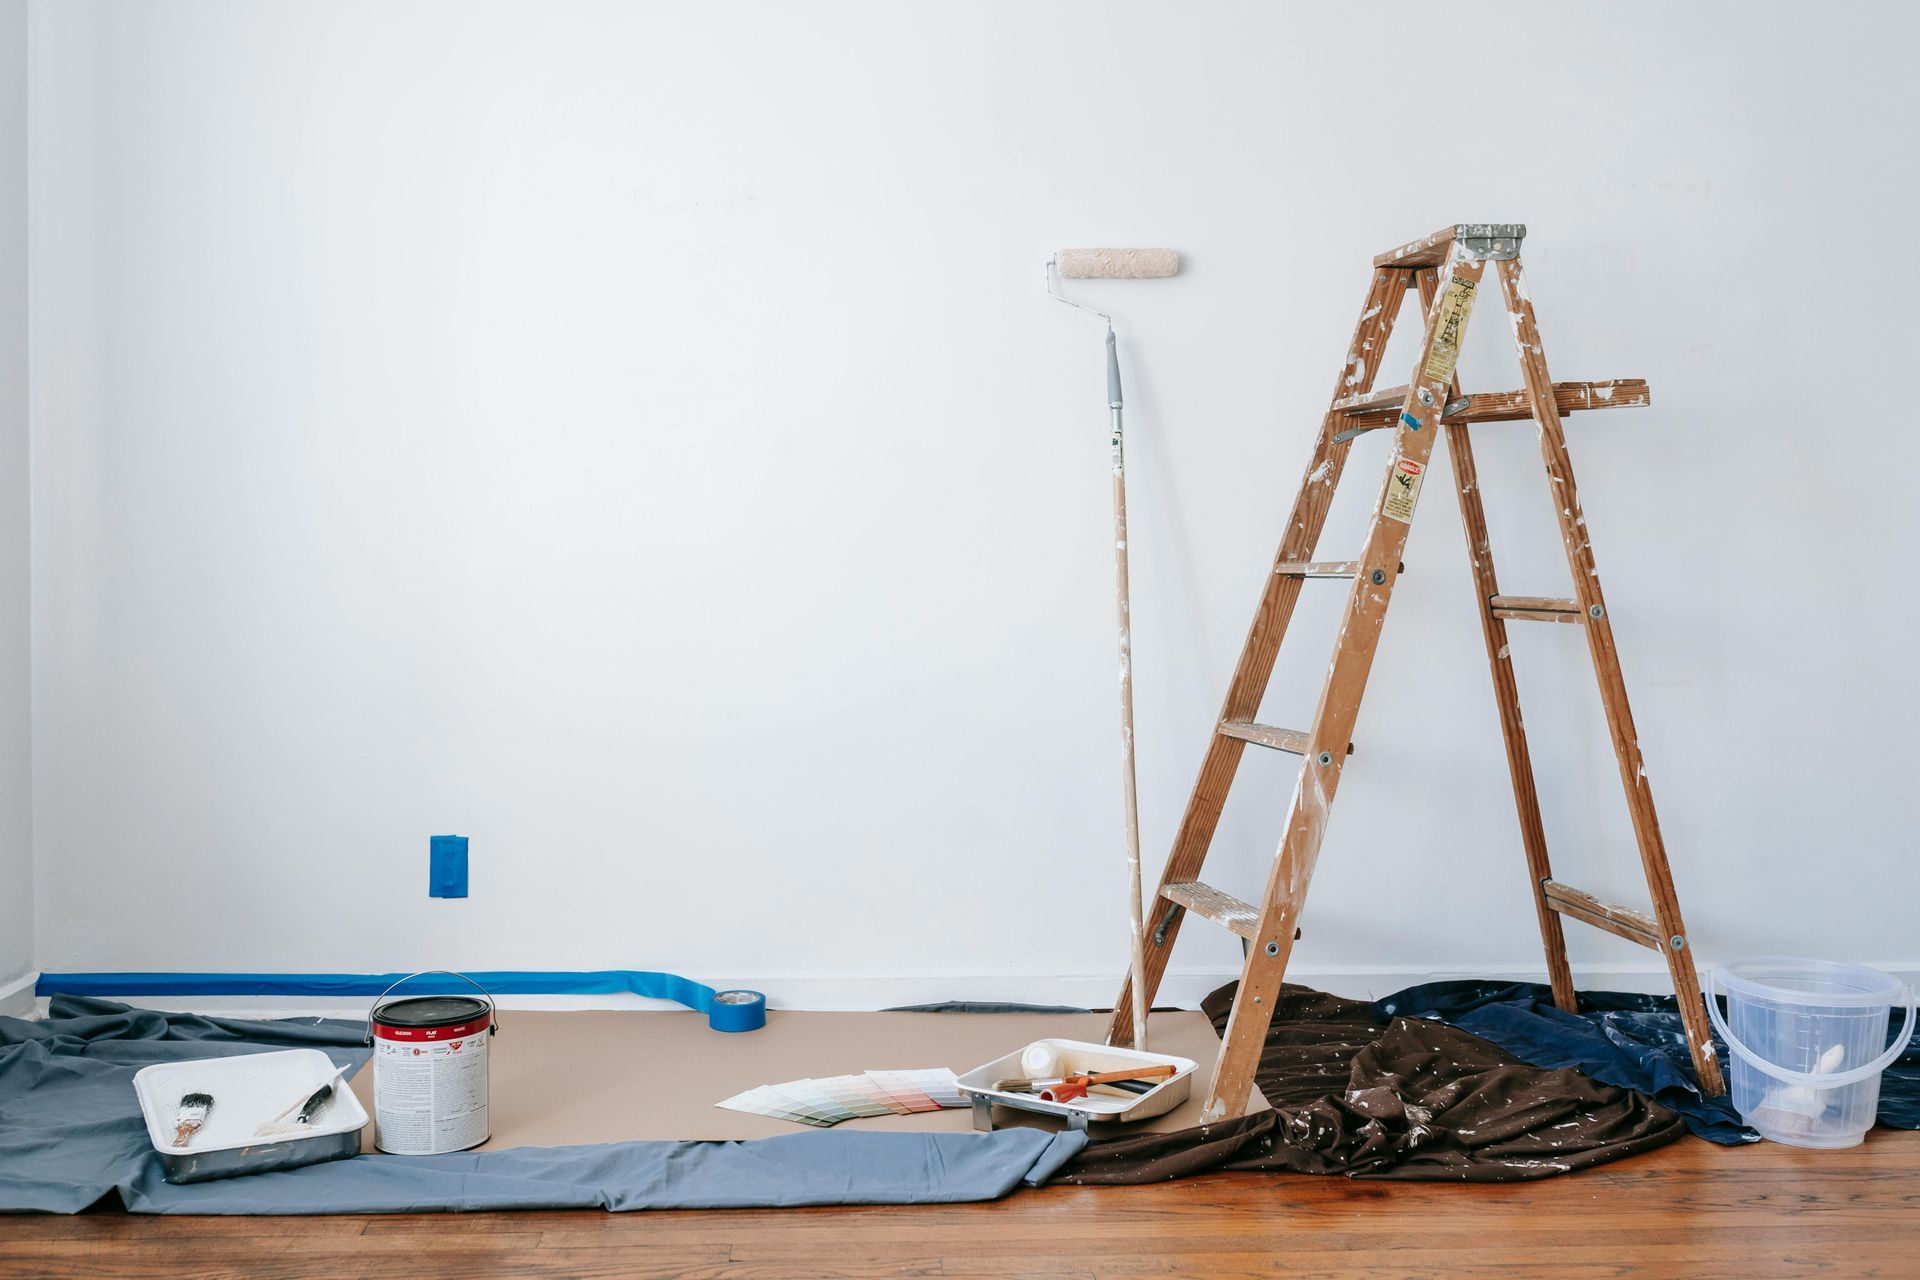
Step 2: Gather Your Materials
For a basic repair, you will need:
- Spackle or joint compound for small holes
- Drywall patch or a new piece of drywall for larger holes
- Sandpaper
- Paint
- Paintbrush
For the artistic transformation:
- Decorative elements such as stencils, decals, or even small shelving
- Additional paint colors
- Creativity and imagination
Step 3: Repairing the Hole
Start with the basics of "hole in the wall repair":
- Clean and Prepare: Remove any loose debris around the hole and ensure the area is clean.
- Patch or Fill: For a small hole, apply spackle with a putty knife, smoothing it over the hole and surrounding area. For a larger hole, secure a drywall patch and apply joint compound around the edges, feathering it out to blend with the existing wall.
- Sand and Smooth: Once the filler or compound has dried, sand the area until it's smooth and flush with the wall surface.
Step 4: The Artistic Transformation
Now comes the fun part—turning your repair into a work of art:
Paint Techniques: Use different paint techniques such as sponging, stenciling, or even hand-painting designs around the repaired area. This can effectively incorporate the "hole in the wall patch" into a larger, cohesive piece of wall art.- Thematic Decor: Consider the room's theme and use the hole repair as a base for thematic decor. For example, a hole near a kitchen counter can become the backdrop for a painted coffee cup or utensil silhouette.
- Interactive Elements: If the wall’s structure allows, transform the hole into a small niche for decorative items, turning the "hole in the wall" into a purposeful part of your home’s decor.
Step 5: Maintaining Your Wall Art
Maintaining your new wall art involves regular dusting and gentle cleaning. If the wall sustains another impact, the same basic and artistic steps can be repeated, ensuring that the wall remains a dynamic part of your home's aesthetic.
Estimating the Cost
While considering the "hole in the wall repair cost," it's essential to remember that integrating art reduces the frequency of future repairs by transforming the area into a less likely target for accidental impacts. Costs can vary widely, from a few dollars for small patches to more significant investments for larger repairs and decorative work. Always consider quality materials to ensure durability and longevity of both the repair and the art.
Choosing the Right Service
If you prefer professional help, look for "hole in the wall repair services" that offer customization options. The "hole in the wall fixer" should be comfortable with artistic projects and possibly offer design consultations.
DIY Tips
For those who prefer the "easiest way to patch a hole in the wall" and transform it into art, there are plenty of DIY resources available online, offering everything from simple patchwork to intricate paint jobs and installations.
Leveraging Creativity: Ideas for Artistic Wall Transformations
To truly bring the concept of turning a "hole in the wall" into an art form to life, let's explore some creative ideas that can inspire your next home improvement project.
Incorporate Wall Murals:
A larger hole in the wall provides an excellent excuse to start a mural that spans a significant part of the wall. You can paint a scene that integrates the repaired area seamlessly into a larger image, like turning the hole into the window of a painted house or vehicle.
Create a Mixed Media Display:
Combine different materials and textures around the repaired hole to add depth and interest. For example, surrounding the hole with wood trim or tile can frame your patchwork and turn it into a featured element of a larger mosaic or collage.
Use Lighting for Effect:
Embed small LED lights in or around the repair site to highlight the artistic repair at night. This approach can turn a simple wall patch into a striking visual feature, especially effective in living rooms or hallways.
Add Functional Art:
Convert the repaired hole into a functional piece of art by installing a small shelf or hook for hanging keys or decor. This not only covers the hole but also adds utility, making it a part of the home's everyday use.
Theme Integration:
If your room has a specific theme, such as nautical, botanical, or abstract, use the repair as an opportunity to reinforce this motif. A hole in the wall can be turned into the porthole of a ship in a nautical-themed room or the center of a flower in a botanical theme.
Advanced Techniques for Larger Repairs
For more significant "hole in the wall drywall repair," consider advanced techniques like installing a piece of art directly into the wall. This could involve setting a framed picture into the wall where the hole once was, creating a flush finish that makes the artwork appear as if it is a natural part of the wall.
Practical Considerations
When planning your project, consider these practical aspects to ensure a successful transformation:
Durability: Choose materials that will not only cover the hole but also protect the area from future damage.
Compliance with Standards: Ensure that any electrical or structural modifications comply with local building codes.
Aesthetic Cohesion: Keep the room’s overall color scheme and style in mind to ensure that the new art piece fits seamlessly with the existing decor.
Conclusion: The Value of Creative Repair
By viewing each "hole in the wall" not as a setback but as an opportunity, you can transform everyday wear and tear into a unique design element that enhances your home's character and charm. Remember, the "easy way to fix a hole in the wall" isn't just about quick fixes; it's about smart, creative solutions that make your space more beautiful and functional than before.
With the right
approach and a bit of creativity, even the most mundane repairs can become exciting opportunities for home improvement and personal expression. So next time you spot a hole in the wall, think beyond the patch. Think of it as your next art project, waiting to happen.